
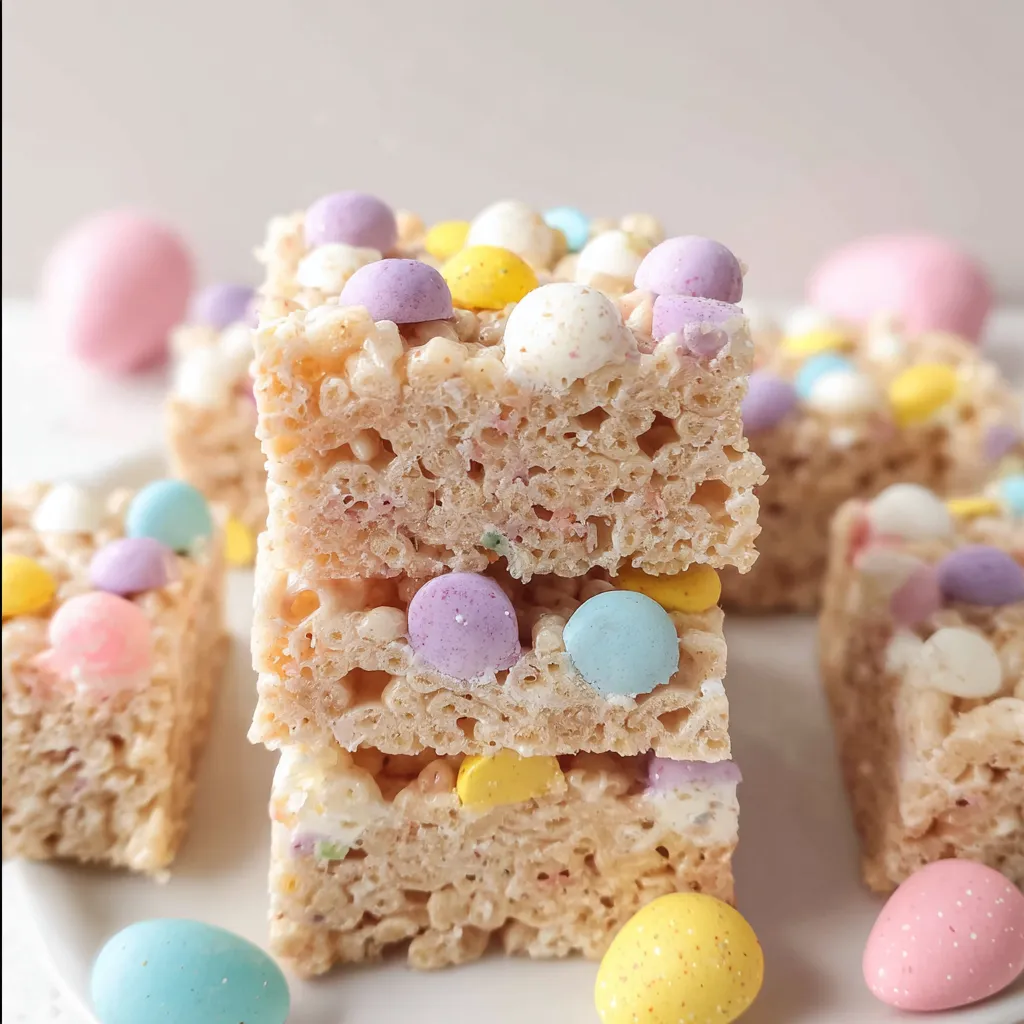
Spring is in the air, and there is no better way to celebrate the season than with a batch of these whimsical Rice Krispies Easter Nests. If you are looking for a recipe that combines nostalgia, ease, and a high “cute factor,” you have found it. These nests are a delightful twist on the classic puffed rice treat we all grew up with, transformed into individual portions that double as edible decor. Whether you are hosting an Easter brunch or looking for a fun kitchen activity to do with the kids, these treats are a guaranteed crowd-pleaser. With their crunchy texture, gooey marshmallow center, and colorful candy fillings, they capture the essence of spring in every bite. Best of all, they require zero oven time, making them a stress-free addition to your holiday menu.
Why You’ll Love This Recipe
You will fall in love with these Rice Krispies Easter Nests because they are incredibly versatile and beginner-friendly. First, the “no-bake” aspect is a lifesaver during busy holiday weekends when the oven is likely occupied by a ham or hot cross buns. Second, this recipe is a fantastic sensory activity for children; they will love tinting the “grass” and pressing the cereal into the tins. Third, the ingredients are pantry staples, meaning you won’t have to hunt down obscure items. Finally, these treats are perfectly portioned for little hands and party platters, offering a festive aesthetic without the need for advanced decorating skills or expensive tools.
What Is a Rice Krispies Easter Nest?
A Rice Krispies Easter Nest is a creative reimagining of the traditional marshmallow-cereal bar. Instead of being pressed into a flat pan and cut into squares, the warm, pliable mixture of puffed rice cereal and melted marshmallows is molded into the shape of a bird’s nest using a cupcake tin. The “hollow” center of the nest is then filled with various seasonal toppings. Typically, this includes shredded coconut dyed green to mimic spring grass, followed by “eggs” represented by jelly beans, chocolate eggs, or miniature marshmallows. It is a visual and textural delight that bridges the gap between a snack and a festive dessert.
Ingredients Overview
To create the perfect nest, you will need a few key components. The base starts with 6 cups of Rice Krispies cereal, which provides that iconic airy crunch. The “glue” for our nests consists of 10 ounces of marshmallows (approximately one standard bag) and 3 tablespoons of unsalted butter. Using unsalted butter allows you to control the saltiness, though a pinch of sea salt can actually enhance the sweetness of the marshmallows.
For the decorative elements, you will need 1/2 cup of flaked coconut. When combined with green food coloring and a tiny bit of water, this becomes your edible grass. The finishing touches are the jelly beans and chocolate eggs. Look for pastel-colored candies to keep the spring theme consistent. If you prefer a more natural look, you can use speckled malted milk eggs. Each ingredient plays a role: the cereal for structure, the marshmallows for sweetness and pliability, and the candies for a pop of color and variety in every bite.
Ingredient Substitutions & Tips
Customizing this recipe is easy based on what you have in your pantry. If you don’t have regular marshmallows, a 7-ounce jar of marshmallow crème works perfectly as a 1:1 substitute. For those with dietary restrictions, vegan marshmallows and plant-based butter alternatives (sticks, not tub margarine) work well, though they may melt at a slightly different rate. If you aren’t a fan of coconut, you can use green-tinted white chocolate shavings or even edible Easter grass made from sugar. For the cereal base, cocoa-flavored puffed rice can create a “muddy” nest look, which is equally charming for a woodland-themed party.
Step-by-Step Instructions
- Prepare the Pans: Start by generously coating 16 cups of a standard cupcake tin with non-stick cooking spray. This is a crucial step to ensure your nests pop out cleanly without crumbling.
- Make the Edible Grass: In a small mixing bowl, whisk together 1/4 teaspoon of water and 2 to 4 drops of green food coloring. Add the flaked coconut and stir vigorously until the color is evenly distributed. Spread the coconut on a parchment-lined baking sheet to dry while you prepare the cereal base.
- Melt the Marshmallows (Stovetop): In a large heavy-bottomed saucepan, melt the butter over low heat. Once melted, add the marshmallows. Stir constantly with a silicone spatula until the mixture is completely smooth and liquid. Do not let it boil, as overcooked marshmallows become hard.
- Incorporate the Cereal: Remove the pan from the heat immediately. Pour in the Rice Krispies cereal and fold gently until every kernel is coated in the marshmallow mixture.
- Molding the Nests: While the mixture is still warm and pliable, use lightly greased hands (or a greased measuring cup) to divide the mixture among the 16 cupcake cups. Press the mixture firmly against the bottom and sides of each cup to create a hollow center.
- Cool and Fill: Allow the nests to cool completely in the tin (about 30-45 minutes). Once firm, carefully lift them out. Fill each nest with a pinch of green coconut “grass” and top with jelly beans, chocolate eggs, and mini marshmallows.
Expert Baking/Cooking Tips
For the best results, the most important tip is to use fresh marshmallows. Marshmallows that have been sitting in the pantry too long lose their moisture and will result in a hard, chewy treat rather than a soft, crispy one. Secondly, don’t over-compress the cereal. When forming the nests, press firmly enough to hold the shape, but don’t pack them so tightly that they become dense. Lastly, keep your hands well-greased with butter or cooking spray during the molding process. The marshmallow mixture is incredibly sticky, and this will save you a lot of frustration and mess.
Making Easter Traditions
These Rice Krispies Easter Nests are more than just a treat; they are an opportunity to build family traditions. In many households, the “nest making” is an annual event where children are given the responsibility of decorating. You can set up a “decorating station” with different types of candy eggs, sprinkles, and even small marshmallow peeps to sit atop the nests. This type of interactive food prep encourages creativity and makes the holiday feel special. Creating these together builds memories that last far longer than the treats themselves, making the holiday kitchen the heart of the home.
Serving Suggestions
Serve these nests on a large white platter to make the pastel colors pop. They look beautiful as a centerpiece for an Easter dessert table or tucked into individual cellophane bags tied with a ribbon for party favors. For a more sophisticated brunch, you can serve them alongside fresh berries and a dollop of whipped cream. They also make a great addition to an “Easter Charcuterie Board” filled with seasonal fruits, nuts, and other small sweets.
Storage & Make-Ahead Tips
These treats are at their absolute peak of freshness on the day they are made. However, you can store them in an airtight container at room temperature for up to two days. If you need to make them further in advance, follow the freezing instructions: freeze the unfilled nests in a single layer for up to six weeks. When you are ready to serve, let them sit at room temperature for 15 minutes before adding the coconut and candy fillings.
FAQs
Can I make these in the microwave?
Yes! In a large microwave-safe bowl, heat the butter and marshmallows on HIGH for 3 minutes, stirring after 2 minutes until smooth. Then, proceed with adding the cereal as directed in the stovetop method.
Why are my Rice Krispie treats falling apart?
This usually happens if the marshmallow-to-cereal ratio is off or if the mixture wasn’t pressed firmly enough into the tins. Ensure you measure the 6 cups of cereal accurately and give the nests enough time to cool and set.
Can I use different colors for the grass?
Absolutely! While green is traditional, you can use pink, yellow, or purple food coloring for a vibrant, multi-colored spring display.
What is the best way to remove the nests from the tin?
If you greased the tins well, they should pop out. If they stick, run a thin plastic knife around the edges to loosen them.
Final Thoughts
Rice Krispies Easter Nests are a nostalgic, joyful, and delicious way to celebrate the arrival of spring. Their simple ingredient list and no-bake method make them accessible for bakers of all skill levels, while the end result looks like something straight out of a professional bakery. Whether you are making them for a school party or a family dinner, these nests are sure to bring a smile to everyone’s face. Happy Easter and happy “nesting!”