If you’ve ever had a spoonful of sweet, sticky fig preserves spread over warm toast or paired with a wedge of creamy brie, you know the magic this simple preserve can bring to a meal. Making small batch canned fig preserves at home is more than just cooking; it’s bottling up the essence of fresh figs for year-round enjoyment. With just a few ingredients—fresh figs, sugar, and lemon—you can create a versatile preserve perfect for breakfast spreads, charcuterie boards, or even glazes for roasted meats. The beauty of the small batch method is that it’s quicker, easier, and ideal for those who don’t need a pantry full of jars. Plus, when you use ripe black mission figs and a hint of honey, the flavor transforms into something truly special.
Looking for inspiration? Try this beginner’s guide to canning fruit at home.
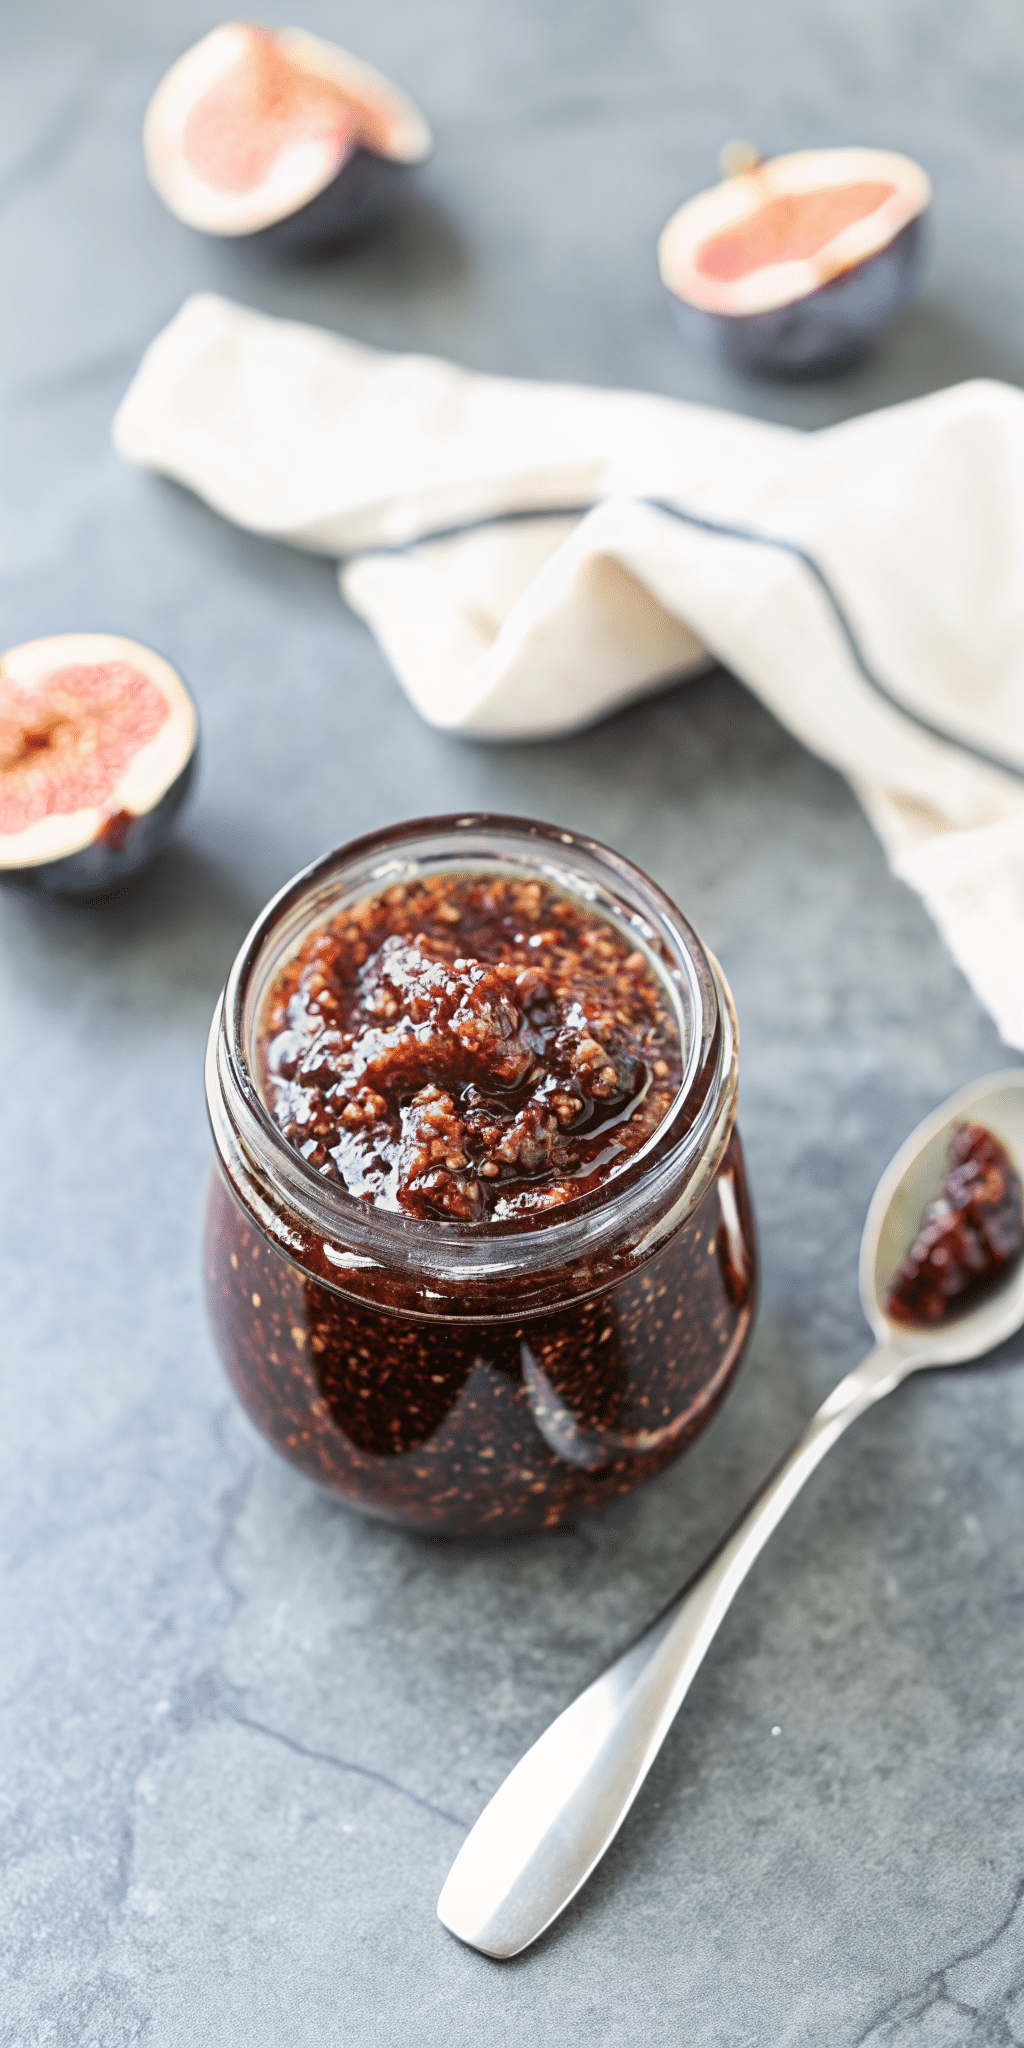
Table of Contents
Understanding Small Batch Canned Fig Preserves
What Are Small Batch Fig Preserves?
Small batch fig preserves are exactly what the name suggests—preserves made in smaller quantities, typically yielding three half-pints or six 4-ounce jars. Unlike large-scale canning projects that can take an entire afternoon, small batches are faster to prepare and cook. This method is perfect if you have a limited supply of fresh figs or if you simply want to enjoy the seasonal fruit without dedicating a whole day to canning. It also allows for more experimentation with flavors—like adding cinnamon, ginger, or even a splash of balsamic vinegar—without committing to a massive batch.
The term “preserves” is used because the figs are left in noticeable pieces, giving you a chunky, textured spread rather than the smoother consistency of a jam. The natural sweetness of figs, balanced with the tartness of lemon, creates a complex yet comforting flavor.
Why Choose a Small Batch Canning Method
There are plenty of reasons why the small batch method has gained popularity among home canners. First, it’s less intimidating—fewer jars mean less sterilization work and less time spent processing. It’s also more forgiving; small amounts are easier to monitor for consistency, preventing the common issues of overcooking or undercooking.
Small batch canning also reduces waste. You’re less likely to have jars sitting unused in the pantry, and if you decide to try a new flavor combination next time, you won’t feel stuck with several jars of the same recipe. Plus, it’s a great way to test a recipe before scaling it up for gift-giving or larger storage.
For those who live in apartments or have limited kitchen space, small batch recipes are a game changer. They require less counter space, fewer tools, and shorter cooking times—making the process both approachable and rewarding.
Ingredients for Perfect Fig Preserves
Main Ingredients: Figs, Sugar, Lemon
At the heart of every great batch of small batch canned fig preserves are three essential ingredients: figs, sugar, and lemon.
- Figs – The star of the show. Black Mission figs are a top choice thanks to their deep purple skin, honeyed sweetness, and jammy texture when cooked. You can use other varieties like Kadota or Brown Turkey, but each will have subtle differences in flavor and color. Make sure they’re ripe but still firm enough to hold their shape during cooking.
- Sugar – Besides adding sweetness, sugar acts as a preservative, helping the fig preserves last longer in storage. Granulated white sugar works best for clarity and consistency.
- Lemon – Both juice and thin slices of lemon are important. Lemon’s acidity balances the sweetness of the figs and ensures safe canning by lowering the pH.
When combined, these three ingredients create a thick, luscious preserve with a perfect balance of sweet and tangy notes.
Optional Add-Ins: Honey, Vanilla, Spices
Once you’ve mastered the base recipe, you can elevate your preserves with subtle flavor boosters:
- Honey – Adds a floral depth of sweetness that pairs beautifully with figs.
- Vanilla Bean or Extract – Creates a warm, aromatic background flavor.
- Spices – Cinnamon sticks, cloves, or cardamom pods can turn your preserve into something extraordinary for the holiday season.
- Herbs – Fresh rosemary or thyme can add an earthy contrast that pairs wonderfully with cheese boards.
Adding these extras to your small batch canned fig preserves lets you tailor the flavor to the season or the occasion.
Step-by-Step Process for Making Small Batch Canned Fig Preserves
Preparing the Figs for Canning
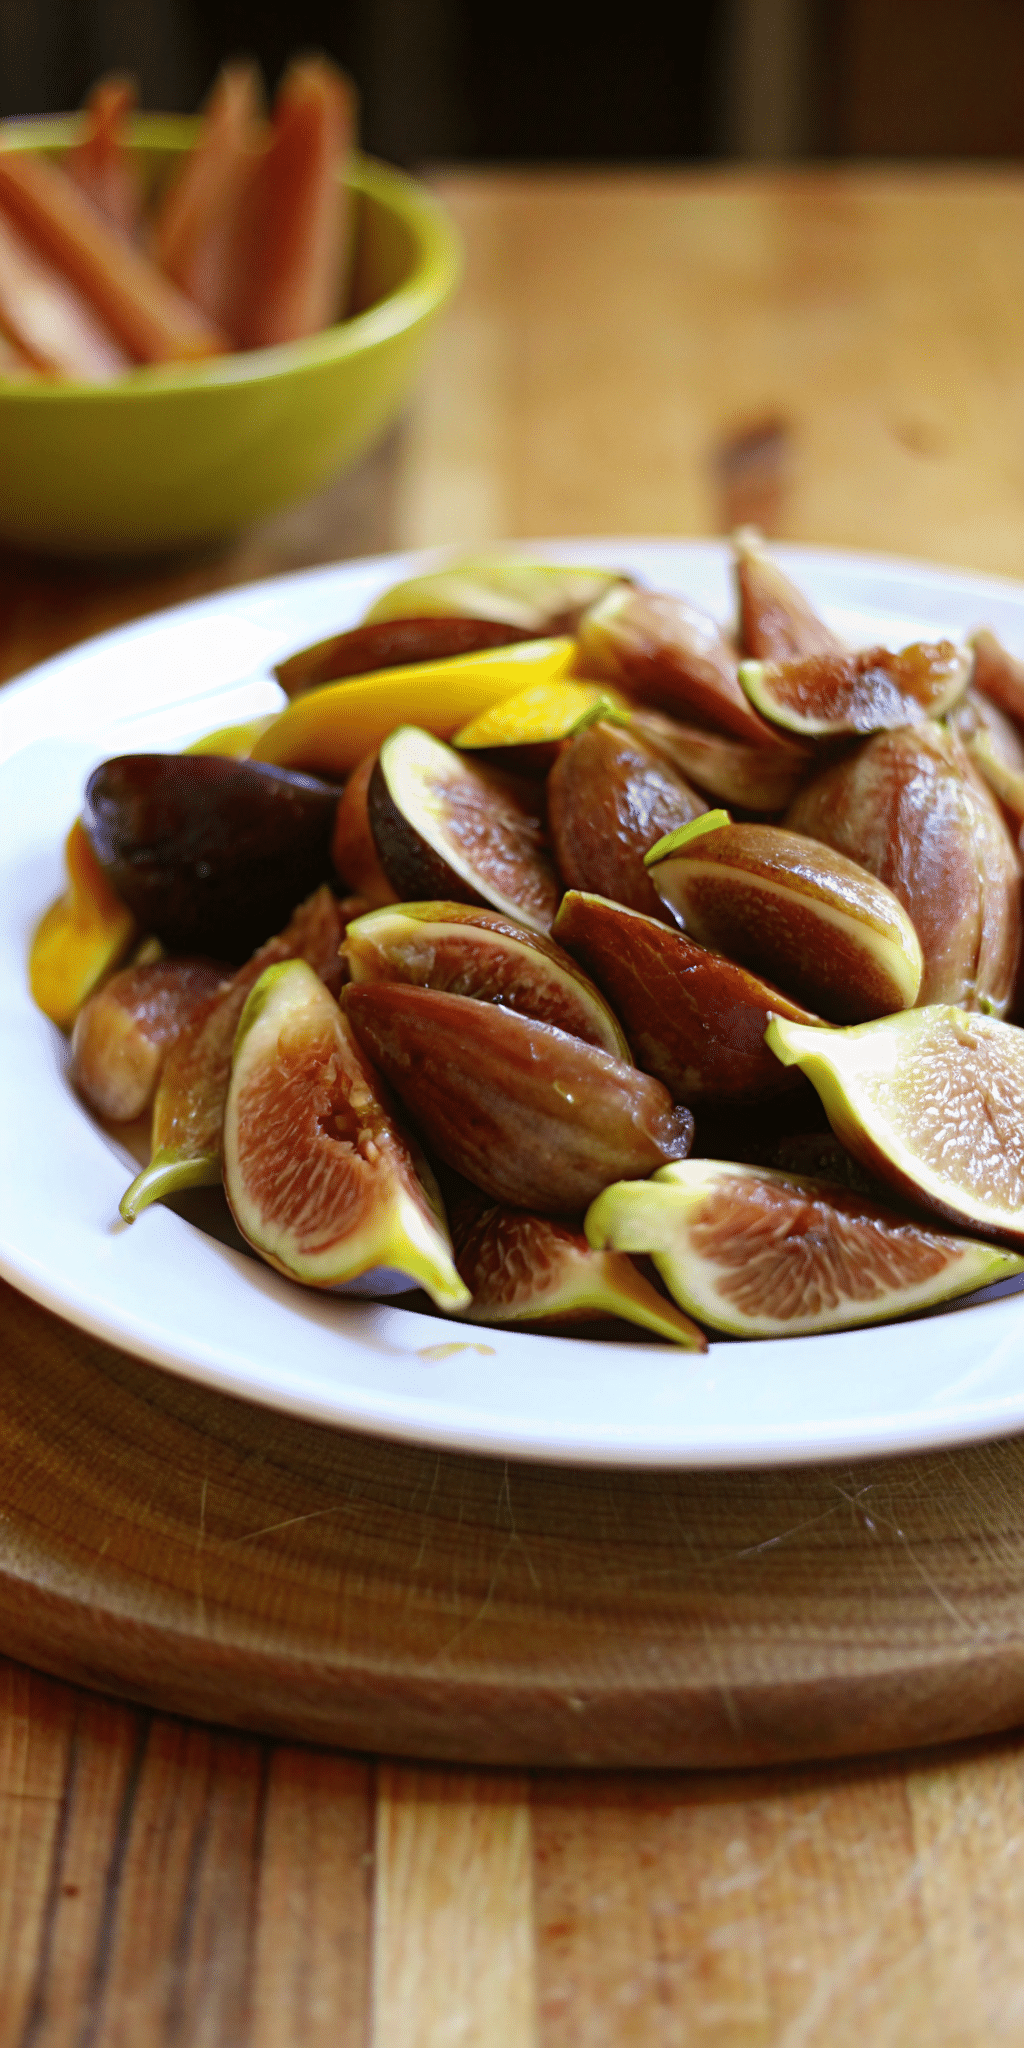
Start by washing the figs thoroughly. Unlike other fruits, figs are delicate and bruise easily, so handle them gently. Leave the skins on—they soften beautifully during cooking and contribute to the preserve’s rich texture and color. Quarter each fig for faster cooking and a chunkier texture. If you prefer a smoother spread, chop them smaller or plan to blend them later.
Measure your sugar and water into a medium saucepan, then bring to a boil. This forms the syrup base, which not only sweetens but also helps extract the natural juices from the figs once they’re added.
Cooking and Achieving the Perfect Consistency
Once your syrup thickens slightly (about 15 minutes), stir in the figs and lemon slices. Bring the mixture back to a boil for one minute, then reduce the heat to a gentle simmer. Stir occasionally to prevent sticking or scorching. Simmering for around 30 minutes allows the flavors to meld and the mixture to reduce.
If you prefer a smoother texture, carefully transfer the mixture to a blender and pulse to your desired consistency. Return it to the pot and cook a little longer if you want it thicker. Remember, preserves thicken as they cool, so don’t overcook—otherwise, you might end up with something closer to fig paste.
Check out our full guide to cooking preserves without overcooking.
Essential Canning Tools & Safety Tips
Sterilizing Jars and Lids Properly
Safety is everything when it comes to canning. Start by washing jars, lids, and bands in hot soapy water, then sterilizing them in boiling water for at least 10 minutes. Keep them hot until ready to fill—placing preserves into a cold jar can cause it to crack.
Boiling Water Bath Method
For small batch fig preserves, the boiling water bath method is ideal. Place filled jars into a large pot of boiling water, ensuring they’re covered by at least 1 inch of water. Process for 10 minutes, then remove and let cool undisturbed for 12–24 hours. A properly sealed jar will have a concave lid that doesn’t flex when pressed.
This method not only ensures long shelf life but also locks in flavor so you can enjoy your small batch canned fig preserves months after making them.
Don’t miss our canning safety checklist to make sure every jar seals perfectly.
Variations & Flavor Combinations
Black Mission Fig Preserves with Honey
One of the most irresistible twists on the classic recipe is adding honey to Black Mission fig preserves. Honey doesn’t just sweeten—it brings floral, earthy notes that blend perfectly with the figs’ natural richness. To try this version, replace about ¼ of the sugar with honey. Add it toward the end of cooking to preserve its delicate flavors. This variation is especially lovely when served with goat cheese or drizzled over roasted vegetables.
Black Mission figs, with their almost molasses-like sweetness, make a luxurious base for this variation. The combination of their deep color and the golden hue of honey creates a visually stunning preserve—ideal for gifting in small jars tied with rustic twine.
Citrus-Infused Fig Preserves
If you want a brighter, tangier preserve, try a citrus-infused variation. Use lemon as the base acid, but add a few strips of orange or tangerine zest while the preserves simmer. This subtle infusion lifts the flavor, balancing the figs’ natural sweetness with a refreshing, aromatic citrus edge.
For an even more adventurous twist, a splash of orange liqueur like Grand Marnier added just before canning will enhance both aroma and flavor. This citrus-forward variation works beautifully as a glaze for baked ham or as a unique ice cream topping.
Storing and Shelf Life
How to Store Canned Fig Preserves
Proper storage ensures your small batch canned fig preserves stay safe and flavorful. Once jars are sealed and cooled, store them in a cool, dark place such as a pantry or cupboard. Avoid areas that experience temperature swings, like above a stove or near a sunny window.
When you’re ready to use a jar, open it and check for any signs of spoilage before serving. After opening, refrigerate the jar and aim to finish it within 2–4 weeks for the best flavor and texture.
Signs of Spoiled Preserves
Even with proper canning, it’s important to know how to spot spoilage:
- Bulging lids – Indicates gas production from bacterial growth.
- Off smells – A sour or fermented odor means the preserves have gone bad.
- Mold growth – Any visible mold is a sign to discard the jar immediately.
- Color changes – While slight darkening is natural over time, extreme discoloration can be a warning sign.
If in doubt, always err on the side of caution—never taste preserves you suspect might be spoiled.
Learn more about storing homemade preserves for maximum shelf life.
Serving Suggestions
Appetizers and Cheese Pairings
One of the most popular ways to enjoy small batch canned fig preserves is alongside cheese. The sweet-tart profile pairs beautifully with creamy, salty, or sharp cheeses. Try it with brie for a rich, velvety bite, with aged cheddar for contrast, or with tangy goat cheese for balance. Spread a layer over crostini, add cheese, and finish with a drizzle of honey for a stunning appetizer.
Another option? Use fig preserves as a glaze for roasted meats like pork tenderloin or chicken thighs. The sugar caramelizes in the oven, creating a glossy, flavorful crust.
Dessert and Breakfast Ideas
For breakfast, spread fig preserves on warm buttered toast, layer it into yogurt parfaits, or swirl into oatmeal. As for dessert, try it as a filling for thumbprint cookies, or spoon it over cheesecake for an elegant finish.
It also makes a surprisingly good topping for vanilla ice cream—just warm slightly and drizzle over scoops for a decadent treat.
Troubleshooting Common Issues
Too Runny or Too Thick Preserves
If your preserves are too runny, you might not have cooked them long enough to allow the natural pectin to set. Return the mixture to the heat and simmer until it reaches the desired thickness. Conversely, if it’s too thick, try adding a tablespoon or two of water and heating gently to loosen it.
Overcooked or Crystallized Sugar
Overcooking can cause sugar to crystallize, leaving gritty bits in your preserves. This often happens if the syrup is boiled too aggressively before adding the figs. To prevent this, keep your heat moderate and stir regularly. If crystallization occurs, reheating with a splash of lemon juice can sometimes dissolve the crystals.
FAQs About Canned Fig Preserves
Is there a difference between fig jam and fig preserves?
Yes. Fig jam is smoother, as the fruit is cooked down and mashed into a spreadable texture, while preserves retain noticeable pieces of fruit, giving a chunkier texture.
How long will home canned fig preserves last?
When properly sealed and stored in a cool, dark place, canned fig preserves can last up to 12–18 months. Once opened, refrigerate and use within 2–4 weeks.
Can fig jam be canned?
Absolutely. Fig jam can be canned using the same boiling water bath method as preserves, with adjustments in cooking time to account for the smoother texture.
Making small batch canned fig preserves is a satisfying way to capture the sweet, rich flavor of figs at their peak. With just a few ingredients and some basic canning skills, you can create a versatile preserve that elevates everything from morning toast to elegant appetizers. The small batch method keeps things simple, allowing for easy experimentation and fresher flavors. Whether you stick to the classic recipe or explore honey and citrus variations, these preserves are a jar of homemade sunshine you’ll reach for again and again.
Print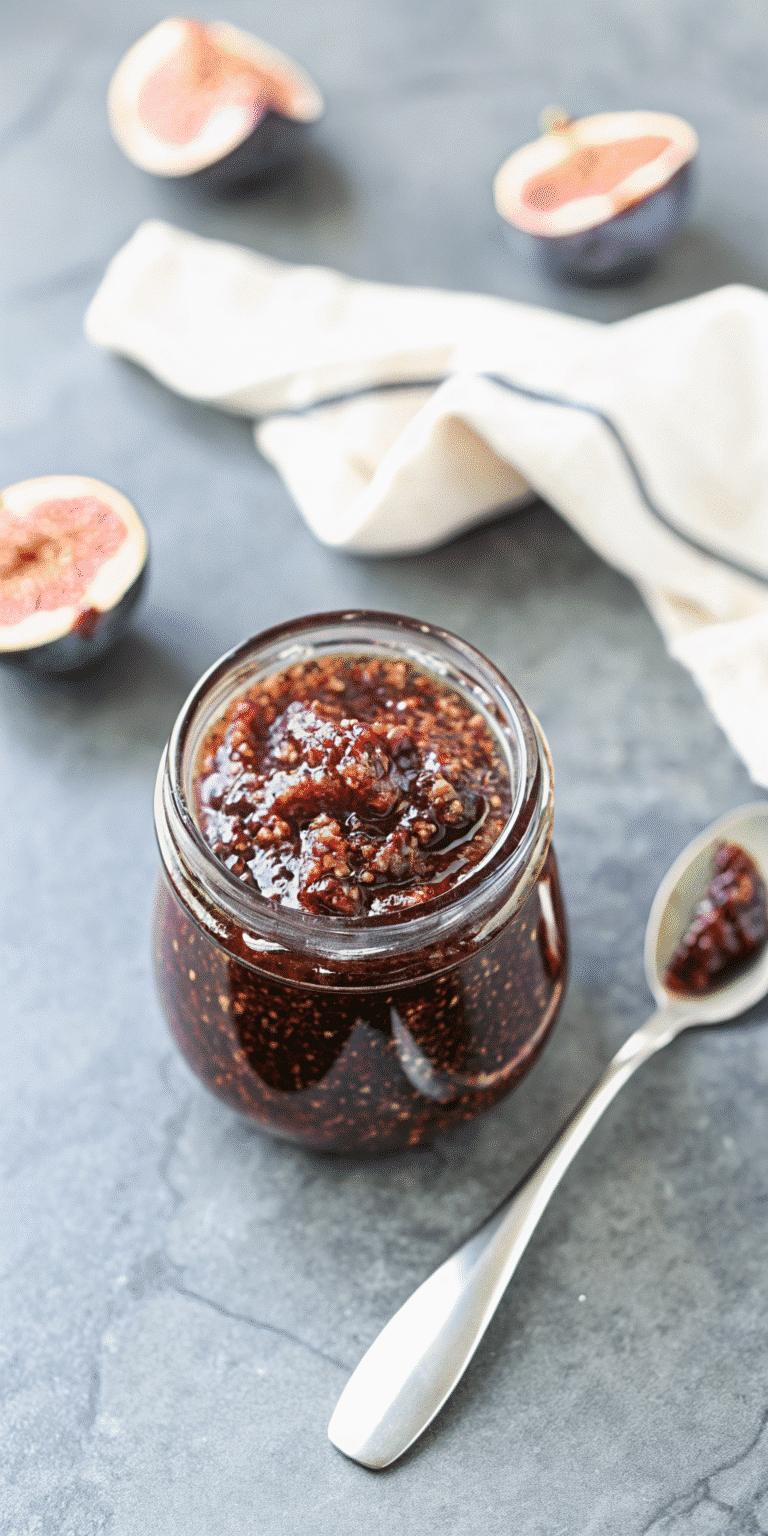
Small Batch Canned Fig Preserves – Easy Homemade Guide
This small batch canned fig preserves recipe creates a sweet, rich spread with a hint of lemon. Perfect for toast, cheese boards, glazes, or desserts, and ready for water bath canning in under an hour.
- Total Time: 55 minutes
- Yield: 3 half-pints (6 x 4-oz jars)
Ingredients
1 lb. fresh figs, washed, unpeeled, and cut into quarters
1 1/2 cups granulated sugar
1/2 cup water
1/4 lemon, sliced thin
Optional Add-Ins:
2 tbsp honey (for floral sweetness)
1 vanilla bean or 1 tsp pure vanilla extract
1 cinnamon stick or pinch of ground cardamom
Fresh rosemary sprig (for savory pairing)
Instructions
1. Prepare the syrup: In a medium saucepan, combine sugar and water. Bring to a boil over high heat, stirring frequently. Reduce heat and boil gently for 15 minutes until slightly thickened.
2. Add fruit and lemon: Stir in figs and lemon slices. Return to a boil for 1 minute.
3. Simmer: Reduce heat and simmer uncovered for 30 minutes, stirring occasionally.
4. Blend (optional): For smoother preserves, blend to desired consistency, then return to pan if needed to thicken.
5. Jar and process: Ladle hot preserves into sterile jars, leaving 1/4-inch headspace. Wipe rims, apply lids and bands.
6. Water bath canning: Process jars in a boiling water bath for 10 minutes, ensuring jars are fully submerged.
7. Cool and store: Remove jars and let cool for 12–24 hours. Check seals before storing in a cool, dark place.
Notes
Preserves thicken as they cool, so avoid overcooking.
Once opened, refrigerate and use within 2–4 weeks.
Perfect for quick canning without large quantities.
- Prep Time: 10 minutes
- Cook Time: 45 minutes
- Method: Canning
- Cuisine: American

