
There is nothing quite like the aroma of fresh bagels wafting through your kitchen on a slow Sunday morning. If you are a sourdough baker, you know the “discard dilemma” that nagging feeling of guilt every time you pour perfectly good fermented flour down the drain. This Sourdough Discard Bagels recipe is the ultimate solution. It transforms that tangy byproduct into a professional-grade bagel with a tight crumb, a shiny golden crust, and that iconic New York-style chew.

Whether you are a seasoned fermenting pro or a novice just starting your sourdough journey, this recipe bridges the gap between artisan baking and everyday convenience. Because we use a small amount of instant yeast alongside the discard, you get all the fermented flavor benefits without the 24-hour waiting period. Get ready to level up your breakfast game with the best bagels you’ve ever tasted.
Why You’ll Love This Recipe
You might be wondering why you should bother making bagels from scratch when the grocery store is right there. The answer lies in the texture and flavor.
First, the sourdough discard adds a complex, lactic acidity that commercial bagels simply lack. Second, the control over the “boil and bake” process allows you to achieve a crust that is actually crisp rather than just dry. This recipe is also incredibly reliable; the addition of instant yeast ensures a consistent rise even if your discard has been sitting in the back of the fridge for a week. Finally, it is highly customizable—from everything seasoning to cinnamon sugar, the possibilities for personalization are endless.
What Is a Sourdough Discard Bagel?
A sourdough discard bagel is a “hybrid” leavened bread. While traditional sourdough bagels rely entirely on a wild yeast starter for leavening—a process that can take up to two days—this version uses sourdough “discard” primarily for its flavor and enzymatic properties.
The “discard” is the portion of the starter you remove before feeding. It is full of broken-down gluten and organic acids which provide a tender interior and a rich, tangy taste. To ensure the bagels rise quickly and have that signature density, we supplement the discard with a small amount of instant yeast. This gives you the best of both worlds: the deep flavor profile of an aged ferment and the predictable, speedy results of modern baking.
Ingredients
To achieve bagel perfection, the quality and type of ingredients matter immensely. Here is what you will need:
- Sourdough Discard (100g): This can be straight from the fridge. It adds moisture and that signature sourdough tang.
- Bread Flour (500g): This is non-negotiable for a “real” bagel. Bread flour has a higher protein content (usually 12-14%) than all-purpose flour. This protein creates the strong gluten network required for a chewy, rather than cakey, texture.
- Warm Water (250g): Aim for 110°F. Water that is too cold will slow the rise, while water above 120°F will kill the yeast cells.
- Granulated Sugar (40g): Sugar serves two purposes: it feeds the yeast and aids in the Maillard reaction (browning) during the bake.
- Sea Salt (11g): Essential for tightening the gluten and bringing out the flavors of the grain.
- Instant Yeast (7g): Provides the “oomph” needed to get these bagels to proof in under two hours.
- Honey (24g): This is used in the boiling water bath. Honey adds a subtle sweetness to the crust and helps create that classic shiny, lacquered finish.
Ingredient Substitutions & Tips
- Flour: If you absolutely cannot find bread flour, you can use all-purpose flour mixed with 1 tablespoon of vital wheat gluten. If using plain AP flour, expect a softer, roll-like consistency.
- Sweetener: You can substitute the sugar in the dough for honey or barley malt syrup. For the boiling bath, maple syrup or even brown sugar can replace honey if you want a vegan-friendly option.
- Discard: If your starter is very old and acidic, your bagels will be extra tangy. If it’s fresh, the flavor will be milder. Both work beautifully!
- Yeast: If using Active Dry Yeast instead of Instant, whisk it into the warm water first and let it sit for 5 minutes until foamy before adding the other ingredients.
Step-by-Step Instructions
1. Mixing the Dough
To the bowl of a stand mixer, add your sourdough discard, warm water, bread flour, sugar, salt, and instant yeast. Using the dough hook attachment, mix on low speed for 5-6 minutes. You are looking for a dough that is smooth, elastic, and slightly tacky but not sticky. It should clear the sides of the bowl completely.
2. The First Rise
Remove the dough from the mixer and knead it by hand on a clean surface about 20 times. This helps “organize” the gluten strands. Place the dough in a lightly greased bowl, cover with a damp cloth or plastic wrap, and let it sit in a warm spot. It should double in size in about 60 to 90 minutes.
3. Shaping the Bagels
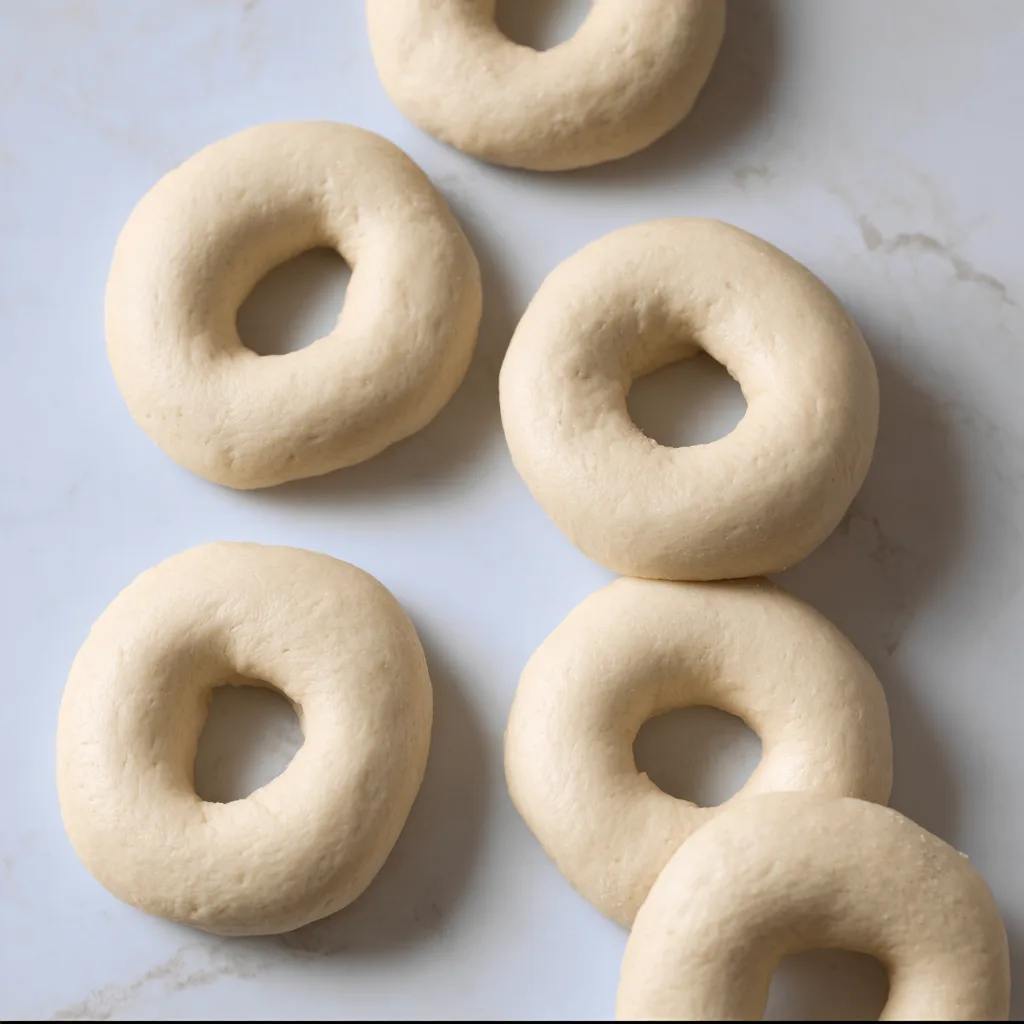
Once doubled, punch the dough down to release large air pockets. Turn it onto a surface and divide it into 8 equal portions. If you have a kitchen scale, each piece should weigh approximately 112 grams. Roll each piece into a tight, smooth ball.
4. Creating the Hole
To get that classic shape, use your thumb to poke a hole through the center of a dough ball. Lift the bagel and use both thumbs to gently stretch the hole until it is about 2 inches wide. Remember, the hole will shrink as the dough proofs and bakes, so don’t be afraid to stretch it!
5. The Second Proof
Place the shaped bagels on a baking sheet lined with parchment paper. Cover them and let them rest for 30–45 minutes. They should look puffy and feel airy to the touch.
6. The Honey Bath
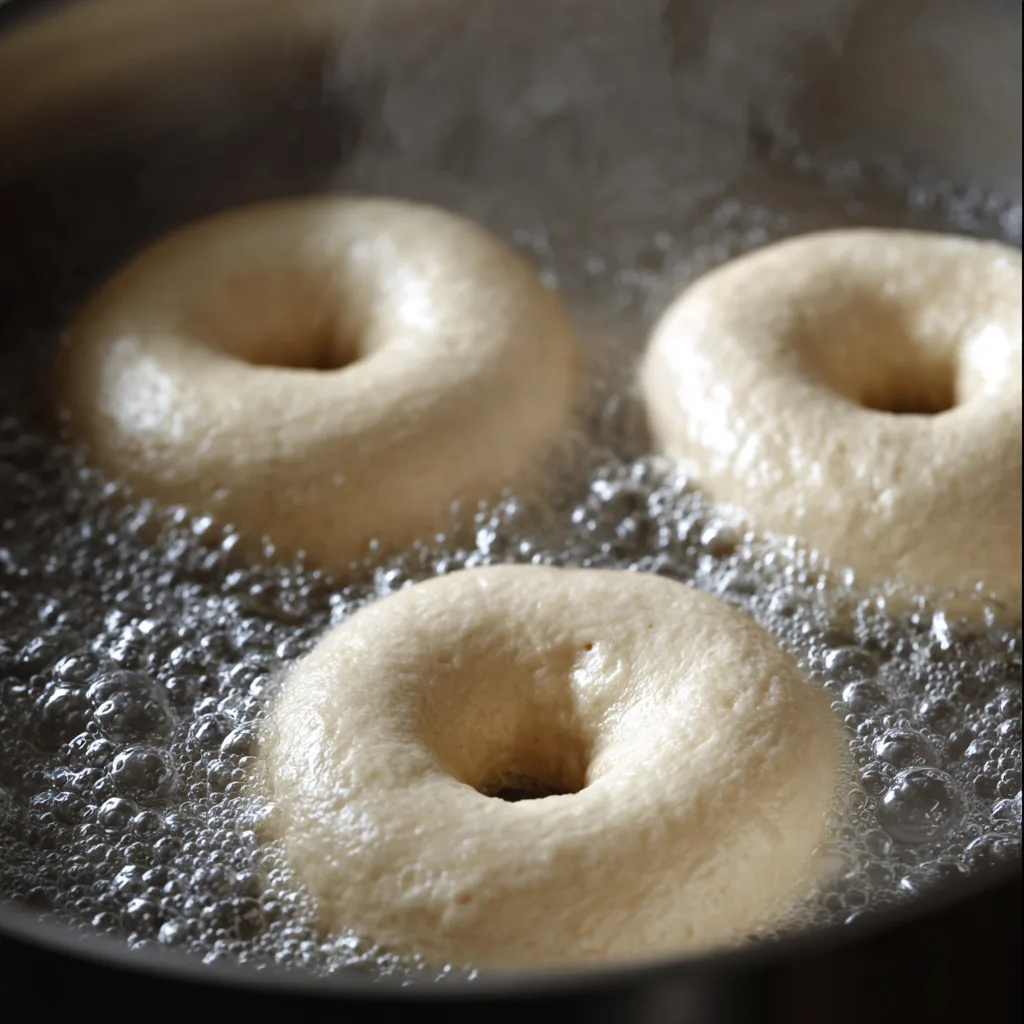
While the bagels proof, bring a large pot of water to a boil and stir in the honey. Boil the bagels for 30 seconds per side. This step gelatinizes the exterior starch, which is what creates the chewy crust.
7. Baking
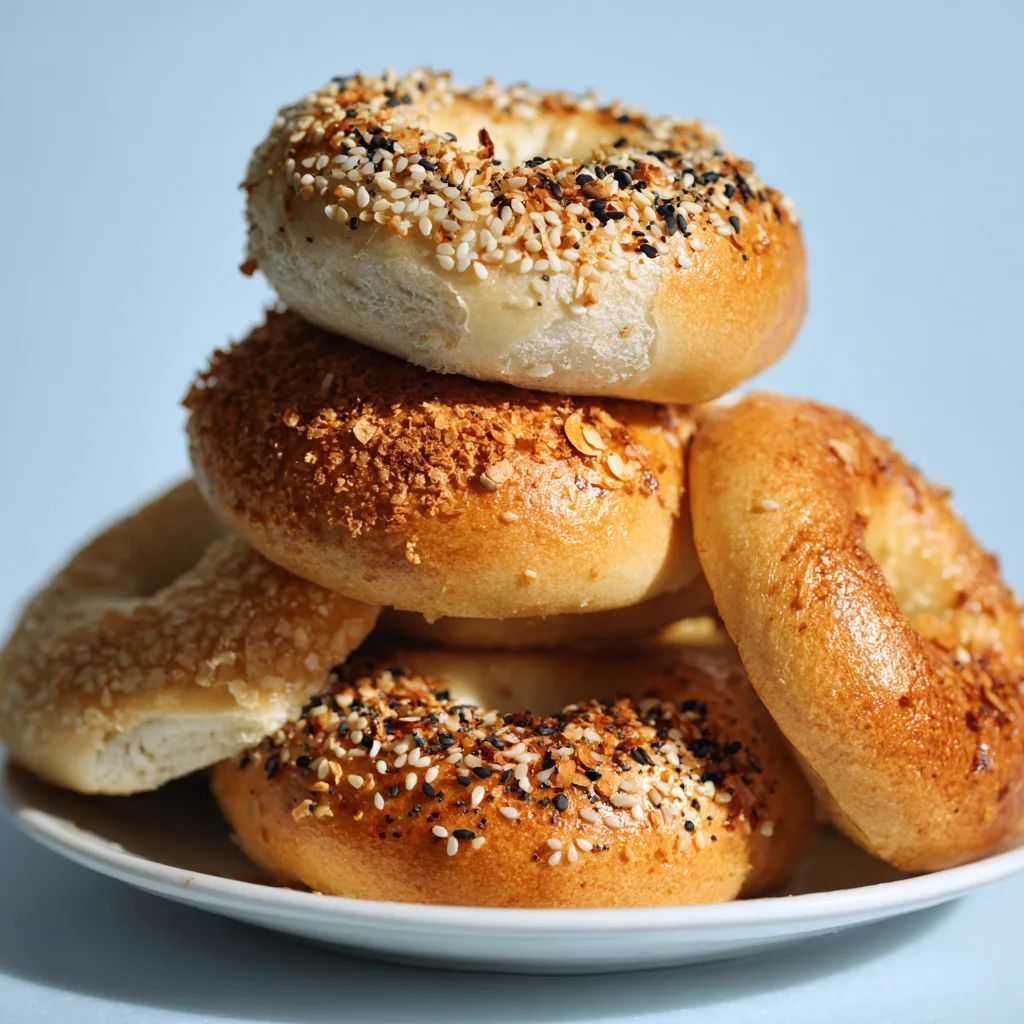
After boiling, place the bagels back on the sheet. This is the time to add toppings! Bake at 425°F (220°C) for 20-25 minutes. They are done when they are a deep, golden brown and sound hollow when tapped on the bottom.
Expert Baking Tips for Success
- The Float Test: Not sure if your bagels are ready to boil? Drop one gently into a bowl of room-temperature water. If it floats, it’s ready! If it sinks, it needs more proofing time.
- Don’t Skip the Boil: The boil is what differentiates a bagel from a round piece of bread. The longer you boil (up to 60 seconds per side), the chewier the crust will be.
- Use a Bench Scraper: When dividing the dough, use a bench scraper for clean cuts. Tearing the dough damages the gluten structure you worked so hard to build.
- Steam in the Oven: For an even better crust, place a shallow pan of water on the bottom rack of the oven during preheating to create a steamy environment.
The Importance of the Honey Boil
The boiling step is the “secret sauce” of bagel making. In professional bakeries, barley malt syrup is often used, but honey is a fantastic, accessible alternative. When you drop the dough into the boiling honey-water, the heat immediately sets the outside of the dough, preventing it from rising too much more in the oven. This creates the dense, tight crumb we love.
The honey adds sugars to the surface which undergo the Maillard reaction at a rapid pace in the oven. This results in that beautiful mahogany color and a slight, crackly shine that is the hallmark of a high-quality bagel.
Serving Suggestions
These Sourdough Discard Bagels are best enjoyed slightly warm from the oven. For a classic experience, slice and schmear with high-fat cream cheese. If you want to go the extra mile, add smoked salmon, capers, thinly sliced red onion, and a squeeze of lemon.
For a sweet twist, toast a plain bagel and top with almond butter, sliced bananas, and a drizzle of honey. They also make incredible breakfast sandwiches when loaded with soft scrambled eggs, crispy bacon, and sharp cheddar cheese.
Storage & Make-Ahead Tips
Homemade bagels contain no preservatives, so they are best eaten within 48 hours. Store them in an airtight bag at room temperature. Never refrigerate bagels, as this causes them to go stale faster through a process called starch retrogradation.
For long-term storage, slice the bagels before freezing. Store them in a freezer-safe bag for up to 3 months. You can pop a frozen, pre-sliced bagel directly into the toaster for a “just-baked” taste any day of the week.
FAQs
Can I use discard that is weeks old?
Yes! In fact, older discard provides a more pronounced sourdough flavor. Just ensure there is no mold or “off” pink colors on your starter.
Why are my bagels flat?
This usually happens due to over-proofing during the second rise or handled too roughly after the boil. Ensure they only proof until puffy, not until they are falling apart.
Do I have to use a stand mixer?
No, you can knead by hand. However, because bagel dough is quite stiff (low hydration), it will take about 10-12 minutes of vigorous hand-kneading to reach the same level of gluten development.
Can I do an overnight rise?
Absolutely. After shaping the bagels, you can place the tray in the refrigerator overnight. This actually improves the flavor. Just let them come to room temperature for 30 minutes before boiling the next morning.
Can I make these mini bagels?
Yes! Simply divide the dough into 16 pieces (about 56g each) and reduce the baking time to 12-15 minutes.
Making Sourdough Discard Bagels is a rewarding ritual that turns a simple byproduct into the star of the show. With their shiny, honey-glazed crusts and chewy interiors, these bagels surpass anything you’ll find in a plastic sleeve at the store. They represent the heart of sustainable baking—taking what we have and turning it into something extraordinary. Grab your starter, preheat your oven, and enjoy the process of creating your very own artisan bakery at home.