
There is nothing quite like the aroma of golden, buttery pancakes wafting through the house on a lazy weekend morning. While it is tempting to reach for a pre-made boxed mix, the secret to the most spectacular, cloud-like breakfast lies in a few simple pantry staples and a touch of technique. These aren’t just your standard flapjacks; they are thick, airy, and possess that elusive melt-in-your-mouth quality that makes a breakfast truly memorable.
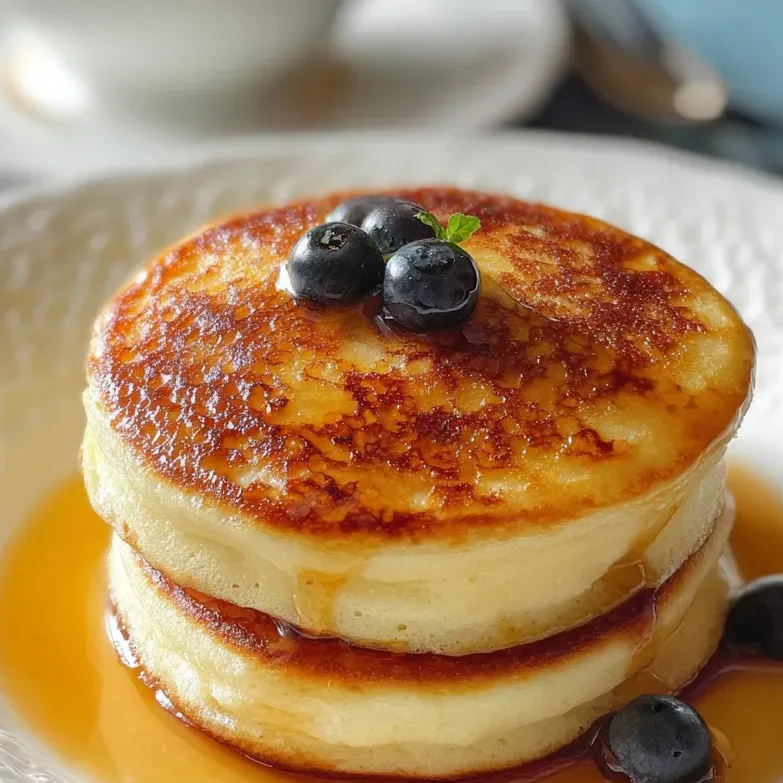
Whether you are cooking for a hungry family or treating yourself to a slow morning, mastering the art of the homemade pancake is a culinary rite of passage. In this guide, we will break down the science behind the fluff, the importance of ingredient temperature, and the specific steps needed to achieve that perfect golden-brown crust. Get ready to elevate your breakfast game with the only pancake recipe you will ever need.
Why You’ll Love This Recipe
You will fall in love with this recipe because it balances simplicity with professional-grade results. Unlike complex recipes that require separating egg whites or using obscure ingredients, this method relies on a precise ratio of common household items. The inclusion of pure vanilla extract and melted butter provides a rich, nostalgic flavor profile that boxed mixes simply cannot replicate.
Furthermore, this recipe is incredibly forgiving and versatile. It provides a sturdy base that holds up to heavy toppings like fresh berries or chocolate chips while maintaining its internal structure. Because the batter requires a short rest period, it gives you just enough time to brew your coffee, making the entire process feel intentional and stress-free.
What Is a Classic Fluffy Pancake?
A classic fluffy pancake, often referred to as an “American-style” pancake, is a leavened griddle cake characterized by its height and soft, spongy interior. Unlike its thinner counterparts like crepes or galettes, the fluffy pancake utilizes chemical leaveners—specifically baking powder—to create carbon dioxide bubbles within the batter as it cooks.
These bubbles become trapped by the structure of the flour, resulting in a thick, airy disk. The ideal pancake should have a uniform golden-brown exterior, achieved through the Maillard reaction (the chemical reaction between amino acids and reducing sugars). This recipe focuses on maximizing that lift while ensuring the interior remains moist and tender, rather than dense or rubbery.
Ingredients Overview
The success of this recipe hinges on the quality and function of each ingredient.
- All-Purpose Flour: This provides the necessary structure. Sifting the flour is a non-negotiable step as it aerates the grain and prevents dense clumps.
- Baking Powder: Our primary leavening agent. It reacts twice—once when mixed with liquid and again when hitting the heat of the pan.
- Sugar & Salt: Sugar aids in browning and provides a hint of sweetness, while salt is crucial for balancing the flavors and strengthening the gluten network.
- Milk: Provides moisture. Using room-temperature milk prevents the melted butter from re-solidifying into chunks when mixed.
- Large Egg: Acts as a binder and contributes to the golden color and rich texture.
- Unsalted Butter: Adds fat for a tender “crumb” and provides that unmistakable buttery flavor.
- Vanilla Extract: Elevates the dish from a simple bread-like cake to a gourmet breakfast treat.
Using fresh ingredients is paramount. Always check the expiration date on your baking powder; if it is older than six months, your pancakes may fail to rise, resulting in a flat, disappointing texture.
Ingredient Substitutions & Tips
If you find yourself missing an ingredient, there are several easy swaps. For a dairy-free version, replace the milk with almond, oat, or soy milk, and use melted coconut oil or a vegan butter substitute. For a tangier profile, you can use buttermilk; if you do this, add 1/4 teaspoon of baking soda to help neutralize the acidity and provide extra lift.
If you are looking for a healthier twist, you can replace half of the all-purpose flour with whole wheat pastry flour, though this will result in a slightly denser texture. To ensure the best results, avoid using cold eggs or cold milk directly from the fridge, as they will cause the melted butter to seize, creating an uneven batter consistency.
Step-by-Step Instructions
1. Prepare the Dry Base: Start by sifting your all-purpose flour into a large mixing bowl. Add the baking powder, sugar, and a pinch of salt. Use a whisk to combine these thoroughly. This ensures the leavening agent is evenly distributed, which prevents uneven rising.
2. Mix the Wet Ingredients: In a separate medium-sized bowl, whisk together the beaten egg, room-temperature milk, and vanilla extract. Slowly pour in the melted butter while whisking constantly. Ensure the butter has cooled slightly so it doesn’t “cook” the egg upon contact.
3. Combine and Rest: Create a well in the center of the dry ingredients and pour in the wet mixture. Using a spatula or wooden spoon, gently fold the ingredients together. Stop as soon as the flour streaks disappear. The batter should be lumpy. Over-mixing will develop gluten, making the pancakes tough. Let the batter sit for 10-20 minutes. You will see small bubbles forming on the surface—this is a sign the baking powder is working.
4. Heat the Surface: Place a nonstick skillet or heavy-bottomed griddle over medium-low heat. Lightly coat the surface with a neutral oil like canola. Avoid using butter for the pan, as it has a low smoke point and can burn before the pancake is done.
5. The Pour and Flip: Use a 1/4 cup measuring cup to scoop the batter onto the hot pan. This ensures uniform size and even cooking times. Wait until you see bubbles forming on the top surface and the edges look set and matte. Slide a spatula underneath and flip in one swift motion.
6. Finish and Serve: Cook the second side for about 1 to 2 minutes until golden. Transfer to a warm plate and repeat with the remaining batter.
Expert Baking Tips
The most common mistake in pancake making is the “over-mix.” When you stir the batter until it is perfectly smooth, you are essentially creating a bread-like gluten structure that results in a rubbery pancake. Instead, embrace the lumps.
Another expert secret is the “Temperature Test.” Before pouring your first pancake, flick a drop of water onto the pan. If it dances and sizzles, the pan is ready. If it evaporates instantly, it’s too hot; if it just sits there, it’s too cold. Finally, never press down on the pancake with your spatula after flipping. You worked hard to get those air bubbles inside—don’t squash them!
The Science of the “Rest” Period
Why do we insist on letting the batter sit for 10 to 20 minutes? This isn’t just a suggestion; it is a chemical necessity for the fluffiest results. During this rest period, two things happen. First, the starch granules in the flour fully hydrate, leading to a more uniform texture.
Second, the gluten that was activated during the mixing process begins to relax. If you cook the batter immediately, the tightened gluten will resist expansion. By resting it, the gluten becomes pliable, allowing the CO2 bubbles from the baking powder to expand fully, giving you that towering height. In humid environments, this rest is even more critical, though you may need to chill the batter if your kitchen is excessively hot.
Serving Suggestions
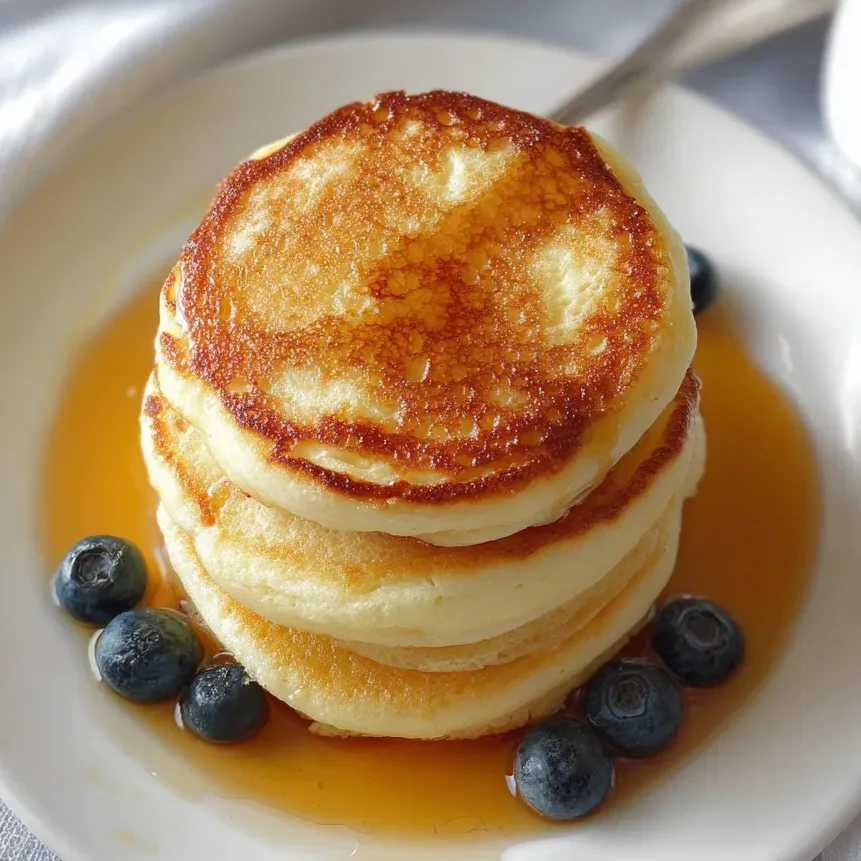
Serve these pancakes in a tall stack with a generous pat of high-quality salted butter. For a classic experience, use Grade A pure maple syrup. If you want to get creative, consider adding a berry compote, a dollop of Greek yogurt with honey, or even a sprinkle of toasted pecans for crunch. For a savory-sweet balance, serve them alongside crispy thick-cut bacon or savory breakfast sausage.
Storage & Make-Ahead Tips
Leftover pancakes can be stored in an airtight container in the refrigerator for up to 3 days. For longer storage, flash-freeze them in a single layer on a baking sheet, then transfer to a freezer bag for up to 2 months. To reheat, skip the microwave—it makes them soggy. Instead, use a toaster or a low oven (300°F) to restore their crisp edges and fluffy interior.
FAQs
Q: Can I make the batter the night before?
A: It is not recommended. The baking powder begins reacting as soon as it touches liquid. If left overnight, the batter will lose its potency, resulting in flat pancakes.
Q: Why are my pancakes raw in the middle but burnt on the outside?
A: Your heat is too high. Pancakes require a “low and slow” approach to allow the interior to set while the exterior browns slowly.
Q: Can I use gluten-free flour?
A: Yes, a 1:1 gluten-free baking flour blend works well, though you may need an extra tablespoon of milk as GF flours tend to be more absorbent.
Q: Why didn’t my batter bubble?
A: Your baking powder is likely expired. To test it, drop a teaspoon into hot water. If it fizzes vigorously, it’s still good.
Q: Is it okay to use a blender for the batter?
A: No! A blender will over-process the flour and pop all the air bubbles, leading to dense, crepe-like pancakes.
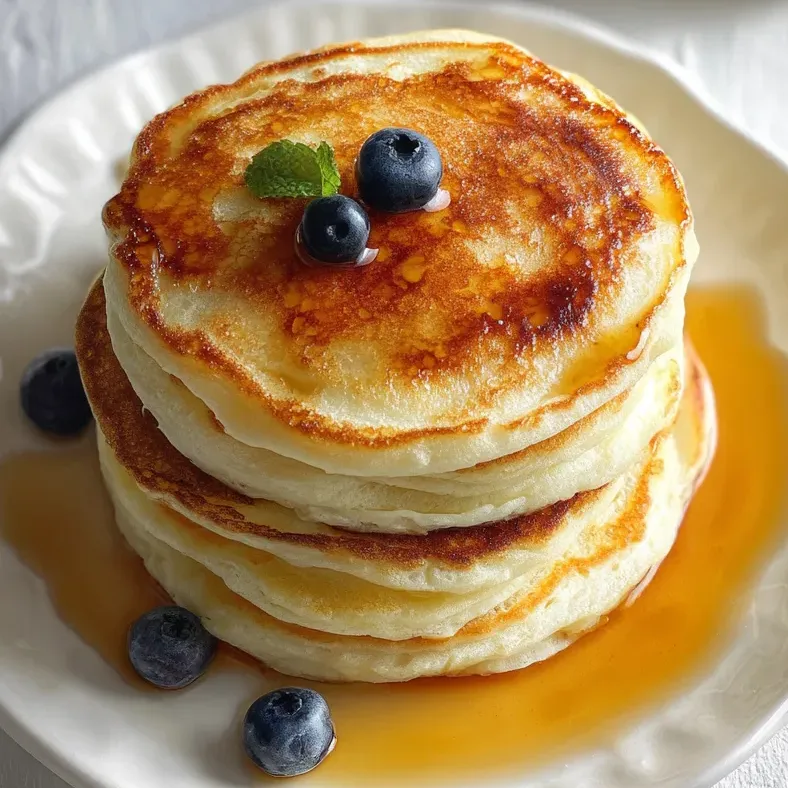
Making the perfect fluffy pancake is a rewarding skill that brings joy to any breakfast table. By understanding the importance of sifting, resting, and heat control, you can move away from processed mixes and enjoy a superior, handcrafted meal. Remember: be gentle with your batter, be patient with your heat, and always serve them hot. Enjoy your journey to becoming a breakfast hero!